With RumbleTalk, you can create one or many rooms. This is useful for creating topic-based communities and using it during online live events.
In live events, you might have a large number of participants. Sometimes, one room is not enough or too crowded. It would help if you could split your event participants into many chat rooms (this is easy with RumbleTalk’s create room option).
At the beginning of an event, the audience is in one big chat room. After that, they can be distributed to different chat rooms.
Creating multiple chat rooms
It is easy to create multiple chat rooms. To create more than one room, simply use one of the two:
- Using the admin panel to create rooms
- Using REST API to create rooms.
Using the admin panel is the easiest way, you log-in to your admin panel. Then, you create a new chat room.
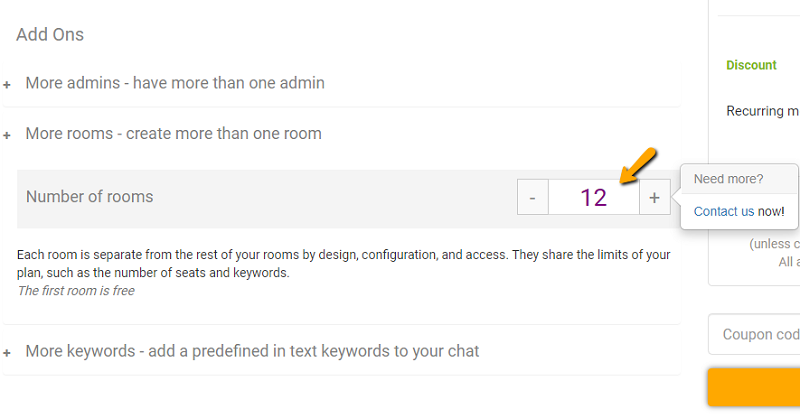
The number of chat rooms you can create is shown below your chat on your admin panel. That’s your account plan. If you want to add more chat rooms, then you need to upgrade your account.
The second option is using REST API. This option lets you integrate the creation of chat rooms using an API call (you will need a developer for that).
When you need more rooms, you need first to upgrade your account. You can upgrade your account by clicking the Get more or Upgrade your plan.
An account holder can add a maximum of 12 rooms at the start. If you need more rooms for your live event, then you need to contact us and we will do it for you.
Also, consider checking out the different pricing models if you’re new to the platform.
Tricks in adding a chat room
Another option to create a new room is to duplicate an existing one, this will save you a lot of time.
In duplicating a chat room, you can copy everything, from design to banned IP addresses. It’s that handy.
If you want to save time, you can use this feature rather than adding everything manually.
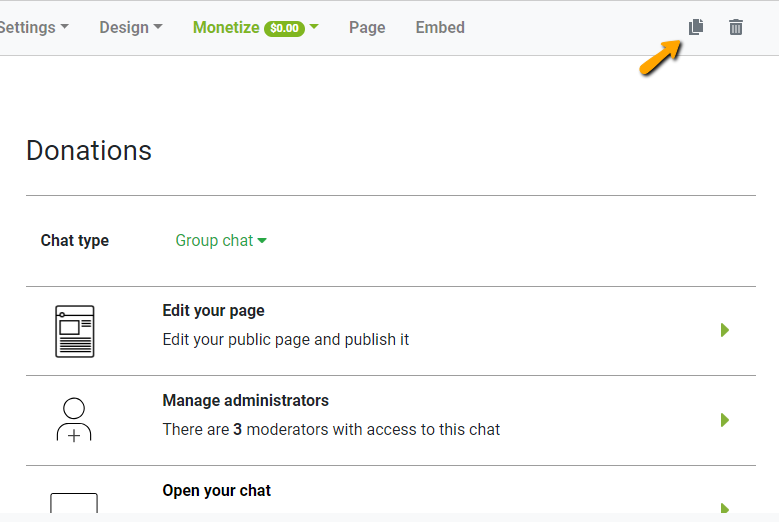
To duplicate a chat room, just click the icon seen in the example below. You can see it on the right-hand side of your admin panel.
Then, choose a name for your new chat room. For advanced options, you can choose to copy the following:
- Chat settings
- Design
- Banned IP addresses
- Monetize
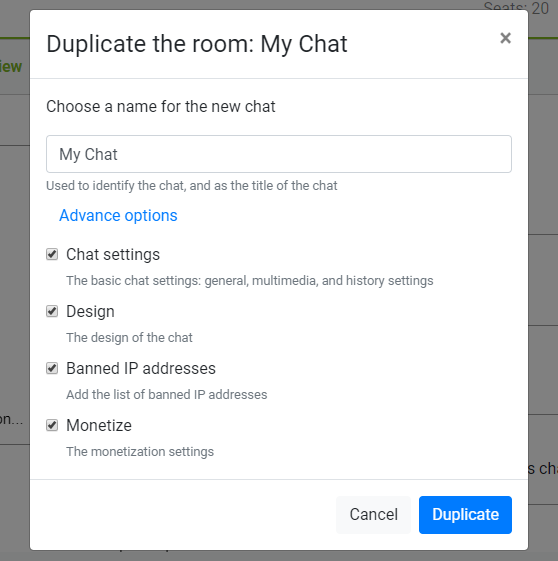
Chat settings refer to your basic chat settings. Design is for the theme or skins of your chat. For banned IP addresses, these refer to the list of banned IPs. Lastly, monetize refers to your chat’s monetization settings, i.e., paywall, donations, and private payment requests.
Here’s an example of how it would look like if you duplicated a chat. In this example, only the design was not duplicated from the other chat room. Therefore, it’s easier to distinguish chat rooms.
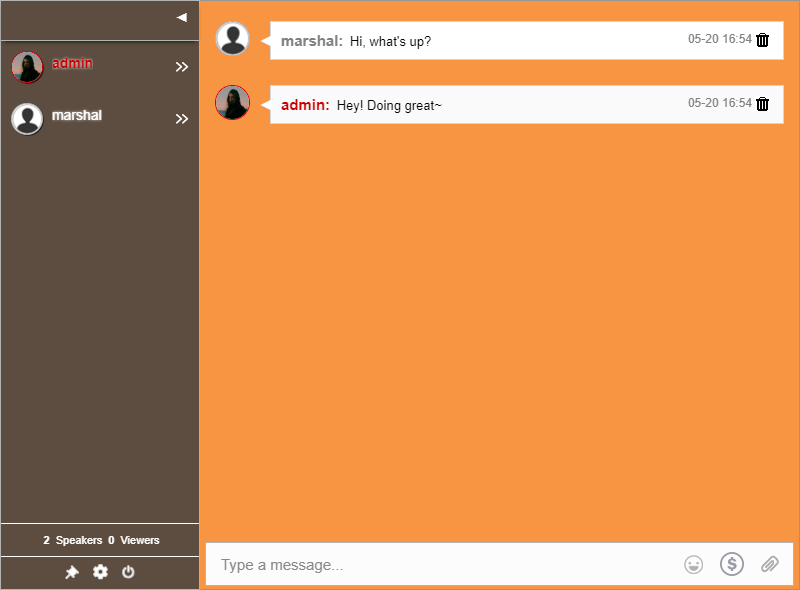
This is the original chat room.

This is the duplicated chat room with a different design.
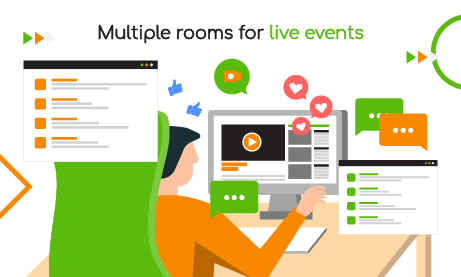
Multiple rooms for your live events
Creating a mass number of rooms can be done easily using the API.
We’ve been posting more often, so we hope you share your experience with us! Whether it be using your group chat for events or small groups, you can tag us on @RumbleTalk. Therefore, we’ll be updated with how you use the platform!