Chat SSO integration connects your existing login system directly to your chat room, so your users are automatically authenticated the moment they land on the page. No second password. No registration form. No friction between your platform and your community.
If you run a members-only website, a subscription platform, an online event, or any community where users are already logged in, asking them to create a separate chat account is more than annoying — it is a conversion killer. Users drop off. Chat rooms sit empty. The community you built never reaches its potential.
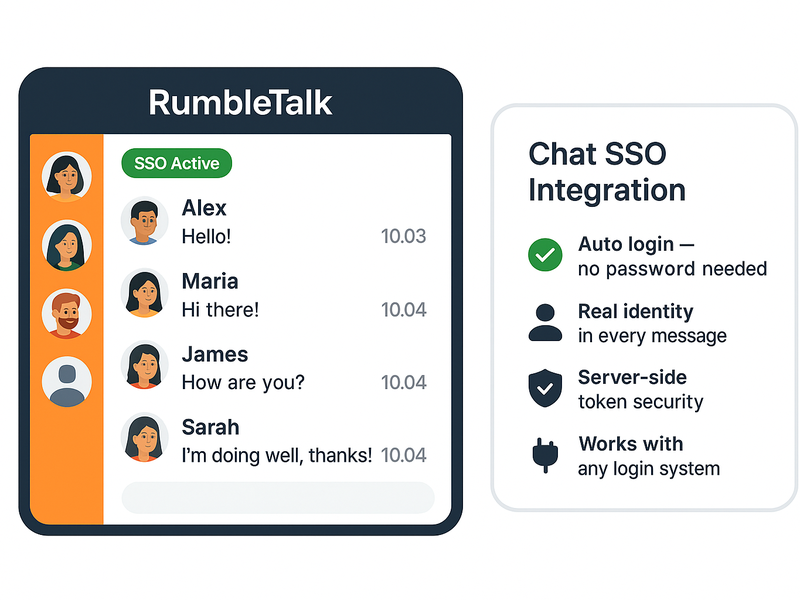
RumbleTalk solves this with native SSO support. Whether you run WordPress or a fully custom platform, you can pass your authenticated user’s identity directly into the chat room — silently, instantly, and securely. Here is everything you need to know.
What Chat SSO Integration Actually Does
SSO stands for Single Sign-On. In the context of a chat widget, it means your website’s authentication system and your chat room share the same identity. When a user logs into your platform, they are also logged into the chat — automatically, with no additional step.
From the user’s perspective, the chat just works. Their name appears. Their profile photo loads. They are in the room and ready to participate within seconds of arriving on the page.
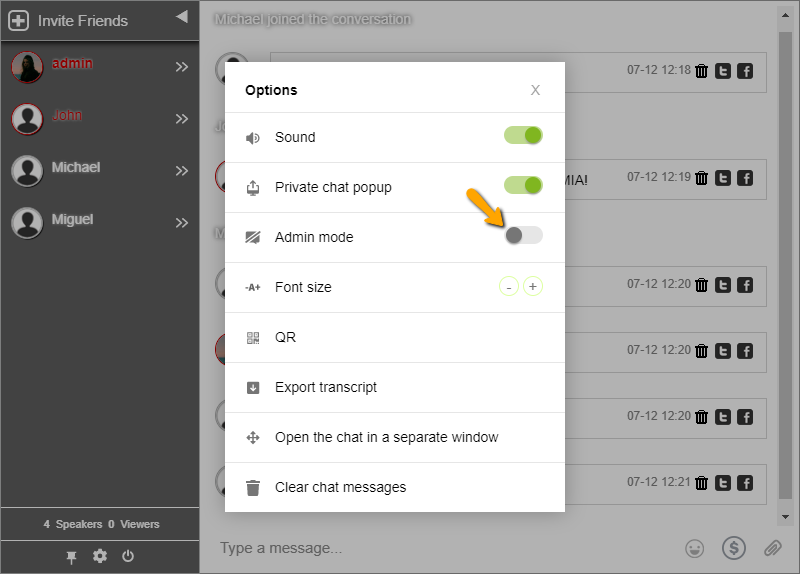
From the admin’s perspective, every user in the room is a verified, identified member of your platform. You know exactly who is speaking. Moderators can act on real identities, not anonymous usernames. Guest access is eliminated by default — unless you choose to allow it.
Two Ways to Set Up Chat SSO Integration with RumbleTalk
RumbleTalk offers two implementation paths. One requires no code at all. The other gives developers complete control over the authentication flow. Both achieve the same result: your users are in the chat with their real identity, automatically.
Option 1: The WordPress Plugin (No Code Required)
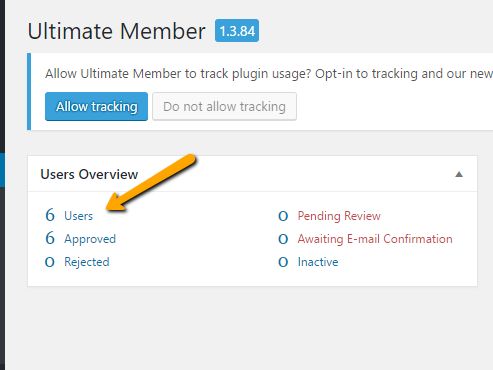
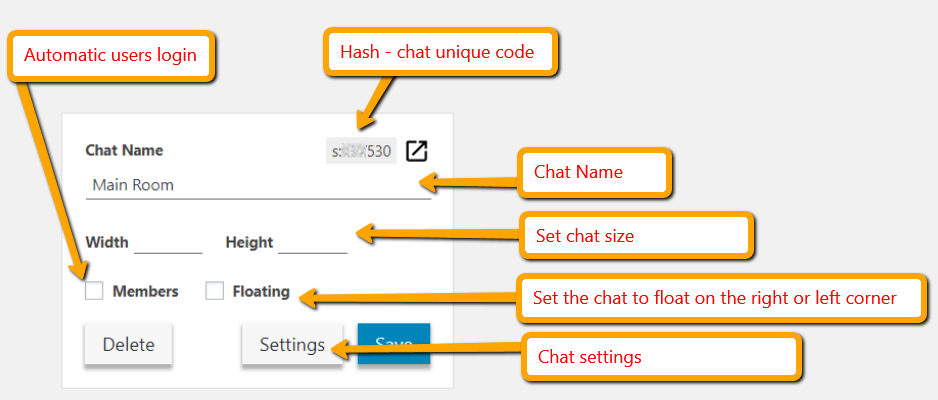
If your platform runs on WordPress, the RumbleTalk WordPress plugin handles SSO out of the box. Once the plugin is installed and your chat room is connected to your WordPress site, every logged-in WordPress user who visits a page with the chat widget is automatically signed into the chat using their WordPress credentials.
Their WordPress display name becomes their chat username. Their WordPress avatar appears as their chat profile photo. There is nothing for the user to click, configure, or remember. It simply works the moment they load the page.
For site owners running membership plugins like MemberPress, Restrict Content Pro, or BuddyBoss, this is particularly powerful. Your membership tiers are already controlling who can access which pages — RumbleTalk respects that same access control and only puts authenticated members into the chat room.
Option 2: The RumbleTalk SDK and Auto-Login API
For platforms built outside WordPress — custom web applications, React frontends, Angular apps, or any server-rendered platform — RumbleTalk provides an Auto-Login API that gives developers direct control over the SSO handshake.
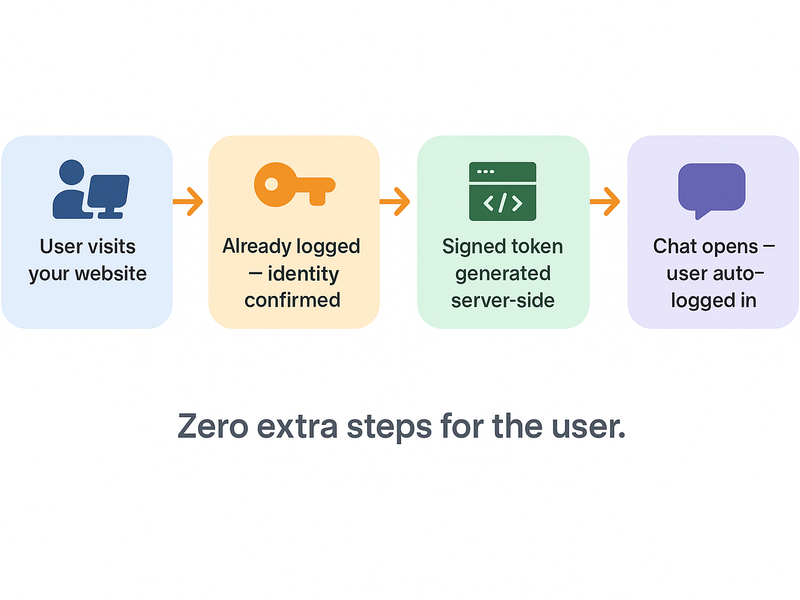
The flow works like this: when an authenticated user loads a page with your chat embed, your server generates a signed token containing the user’s identity (username, display name, avatar URL). That token is passed to the RumbleTalk SDK, which validates it and logs the user into the chat room automatically — all within the page load, invisible to the user.
The RumbleTalk SDK supports this through a simple JavaScript call:
RumbleTalk.SSO({
  hash: "YOUR_CHAT_HASH",
  username: currentUser.name,
  image: currentUser.avatarUrl,
  token: serverGeneratedToken
});
The token is generated server-side using your RumbleTalk API key, ensuring it cannot be spoofed by a client. This approach works with any backend language — PHP, Node.js, Python, Ruby, or any platform that can generate an HMAC-signed string.
Full documentation and code examples for every major language are available in the RumbleTalk Auto-Login API reference.
Who Benefits Most from Chat SSO Integration
Chat SSO integration solves a specific problem: the gap between your platform’s identity system and the chat room. Any website where users are already logged in before they reach the chat can benefit. Here are the most common use cases.
Members-Only Communities
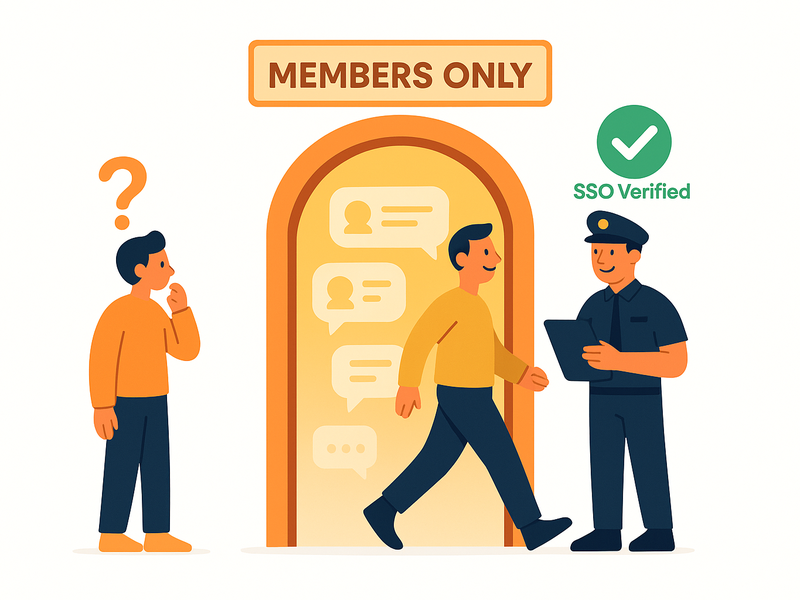
Subscription communities, professional networks, alumni platforms, and private clubs all have one thing in common: membership is earned or purchased. Asking members to create yet another account to use the community chat undermines the exclusivity and the experience you have built.
With SSO, the chat room becomes an extension of your membership. Members log in once and are instantly part of the conversation. Their identity is verified. Their membership tier can even determine which chat rooms they can access. The result is a cohesive, premium experience that feels like one platform — because it is.
Live Events and Webinars
Event organizers face a specific version of this problem. Attendees have already registered for your event. They received a ticket. They confirmed their email. When they arrive at the event page and find a chat widget asking them to register again, the experience breaks.
With RumbleTalk’s chat SSO integration, attendees who are logged into your event platform are automatically placed into the event chat room. No extra step. No confusion. The moderator sees real attendee names — not anonymous guests — which makes Q&A sessions, polls, and moderation dramatically easier to manage.
Online Courses and Educational Platforms
Course platforms need real identity in the classroom chat. When a student asks a question, the instructor needs to know who is asking — their name, their enrolled course, and whether they are a current student. Anonymous chat in an educational context creates noise, not learning.
SSO integration means every student who joins the course chat is already verified as an enrolled learner. Instructors can address students by name. Moderators can take action on real accounts. The classroom stays focused and productive.
What Users Experience with SSO Enabled
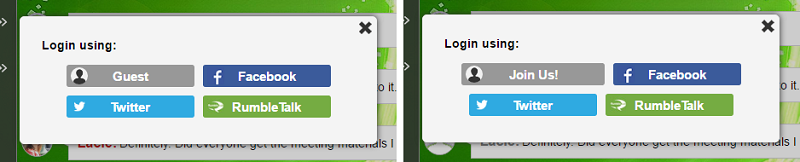
The user experience with SSO active is as close to invisible as a login system can get. There is no visible authentication step. No redirect to a login page. No popup asking for credentials. The user simply arrives at the page and finds the chat room open, with their name already in it.
This matters more than most platform owners realize. Every extra step between a user and the community is a point of failure. Some users will not know how to create a chat account. Others will use a different email and appear as a stranger to the community. Many will simply skip the chat entirely if it requires effort.
SSO removes all of that. The chat room becomes an ambient feature of your platform — always there, always ready, always showing the right identity.
What Admins and Moderators Get
From the moderation side, SSO transforms the chat room from an anonymous space into an accountable one. Every username in the room corresponds to a real account in your system. If a user misbehaves, the moderator can act on their actual identity — not just ban an anonymous session that they will rejoin immediately under a new name.
For platforms that handle sensitive topics — financial communities, healthcare Q&A, legal support forums — this accountability is not optional. It is a requirement. SSO makes it technically enforceable, not just a policy.
Admins also gain the ability to assign roles based on platform membership. A premium member can automatically receive moderator privileges in the chat. A trial user can be restricted to read-only access. These rules are enforced through the SSO token, which means they cannot be bypassed from the client side.
Security: How the Auto-Login Token Works
A common question about SSO is whether it is secure — specifically, whether a malicious user could forge a token and impersonate another member. The answer is no, and here is why.
The auto-login token is generated server-side, signed with your private RumbleTalk API key, which never leaves your server. The token includes the user’s identity data and a timestamp. RumbleTalk’s servers validate the signature before accepting the login. If a client tries to submit a modified or forged token, the signature check fails and the login is rejected.
This is the same security model used by JWT (JSON Web Tokens) and HMAC-based API authentication across the industry. It is a proven, battle-tested approach to secure identity delegation.
Getting Started with RumbleTalk Chat SSO Integration
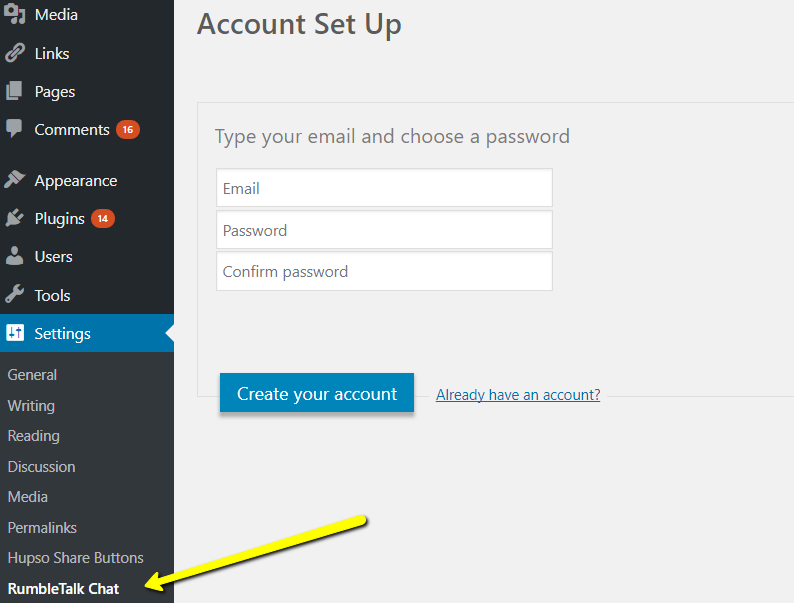
If you are on WordPress, start with the RumbleTalk WordPress plugin. Install it, connect your chat room, and SSO is enabled automatically for all logged-in WordPress users. No configuration required beyond the initial setup.
If you are on a custom platform, start with the Auto-Login API documentation. The implementation is a single server-side function that generates a signed token, plus a single JavaScript call to pass it to the chat widget. Most developers complete the integration in under an hour.
In both cases, your chat room goes from anonymous to authenticated — and your community goes from passive visitors to identified, accountable members — without asking anyone to do anything extra.
The Bottom Line
A chat room without identity is just a comments section. Chat SSO integration is what turns a widget into a real community tool — one where every participant is known, moderation is meaningful, and the experience feels like a natural extension of your platform rather than a separate product bolted on.
RumbleTalk makes this available to WordPress sites without any code, and to custom platforms with a single API call. The result is the same in both cases: your users are in the room, with their real identity, before they even notice the chat is there.
Try RumbleTalk free and set up your first SSO-authenticated chat room today.